No products in the cart.
Makeup Essentials for Beginners-You Must Know

If you’re a beginner to the makeup world, I want to take this opportunity to first welcome you. It can be an intimidating step if you’ve never dipped your toes in but come on in: the water’s warm! Makeup and cosmetics in general can be influential in assisting with body image and self-confidence, but most importantly: it’s fun.
You may have never had anyone to teach you, and you may not even know where to start, but that’s what we’re here for. In this article, we will answer all your questions regarding makeup essentials for beginners. We will go through not only the basics, but we’ll explain why, what might be best for you, and recommendations for what you’ll need to purchase for your first real makeup bag.
Pre-Determinants
Skin Type
One of the most essential steps to proper makeup application and understanding is to identify your skin type and needs. These are typically split into four different categories: normal, dry, oily, and combination. In combination, you usually get oily in what’s called a “T-zone” which is above the forehead and down the nose, but you remain dry or normal in your cheeks. Often “acne prone” is mentioned as a skin type as well, but you can tack that onto any skin type. For example: “dry acne prone skin” or “oily acne prone skin.”
Determining your skin type will assist in finding the best products for your skin. If you’re acne prone, it is important to mention it, as there are some ingredients you may want to avoid. The same goes for eczema or any other skin condition. Finally, it is normal for your skin type to possibly change in the seasons or climate conditions as well. For example: being oily in the summer and dry in the winter, so keep that in mind.
Face Shape
Before we jump into products, another identification necessary in order to customize your makeup routine is determining your face shape. Oval, round, heart, rectangle, and diamond are the most commonly found face shapes. Understanding your facial shape is most useful when it comes to applying some facial products that we will cover later.
Allergies
You should always be mindful of allergies you may or may not be aware of when applying cosmetic products onto your skin. A good way to test if you’re allergic to a product: Test a small amount, wait 24 hours, and if your skin does not react negatively, it’s okay for you to use!
Face Makeup
Foundation
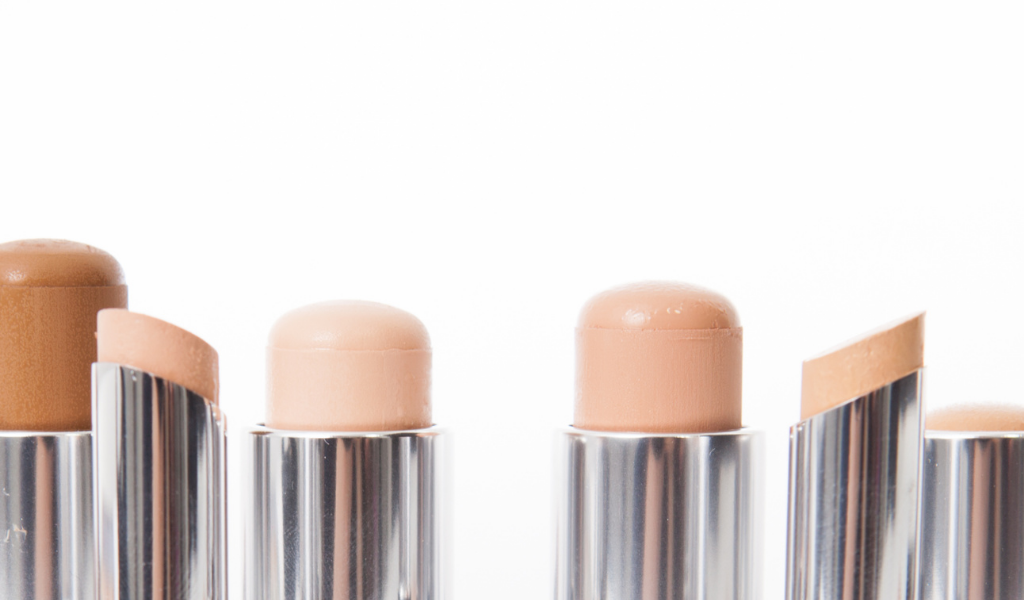
Now, there is often confusion found with both this and the following topic: foundation versus concealer. Foundation can be either liquid, powder, or cream, and concealer is mostly liquid or cream. All are sometimes commonly referred to as “cover up,” but it’s rare you will find those words on a package. For now, we’re going to focus on foundation.
Coverages
As mentioned, foundation comes in liquid, powder, and cream form. These may be worn separately due to separate benefits, or you can combine a liquid and a powder. The foundations will also come in light, moderate, or full coverage and different “finishes.”
Finishes & Liquids
Finishes may not come naturally to you at first but picking a foundation with the proper finish will help you achieve the look you’re seeking. There are usually four to choose from: sheer, radiant (also known as dewy), satin, and matte.
A sheer finish is exactly what it sounds like: it’s sheer! As the lightest coverage, it is very age-appropriate for young people just starting to enter the cosmetics world.
A dewy finish is great for people with dry or combination skin to achieve a more “natural” finish. Your face will see some shine, so probably best avoided for special events or occasions where a lot of photos will be taken.
If you are shopping for foundation and can’t find the finish listed, most likely it’s a satin finish. A satin finish is that sweet spot right between looking glowy or having no shine at all. It mimics normal skin and is best suited for those that don’t necessarily have issues with oil or dryness.
Finally, matte foundations. A lot of people love matte foundations because they tend to give the most coverage, however if you are dry, matte is not for you. If you have texture in your skin, such as wrinkles or acne scars, it’s best to avoid a matte foundation, as it can fall into the cracks and emphasize texture. However, it’s great and often preferred for photos and special occasions due to its longevity and color payoff.
Powders
Powders can be found in all the same levels of coverage and finishes as liquids, however, because it is a powder, it will be a lot more drying than a liquid foundation will be. Because of this, if you have dry skin, proceed to powders with caution. Try to find a sheer or “translucent” powder, as those are a little more breathable for dry skin. Generally, powder foundations often have less coverage than a liquid foundation.
Most people are introduced to makeup powder compacts as one of their first pieces of makeup. Teenagers are an ideal candidate for powder makeup and it’s a great introduction into the makeup world, because teenagers often need less coverage, but produce more oil. If the user is also acne prone, there are a few brands that make acne-safe powder compacts.
Creams
Cream foundations are somewhat of a combination between liquid and powder. It’s ideal for someone with little texture and normal, dry, or combination skin. Some prefer cream-to-powder, which applies creamier, but will dry soft to the touch, like a powder.
Finish and type is a preference and ultimately your decision. You may not find your perfect foundation on the first try, so definitely have patience with yourself and try a few until you find one you love. Most department store counters and beauty stores such as Sephora and Ulta will provide samples for you to try before you commit to purchasing. If you do purchase something and end up not liking it, most of these stores will accept a return even if the package has been opened.
Concealer
Foundation is used to cover your entire face, and then you go back in with a concealer under your eyes to mimic the shades of natural skin tones. Your undereye area is usually a shade lighter than the rest of your face so if you were a “5” in a foundation color, it is probably best that you go with a “4” in concealer. However, in color matching, it’s truly best to go into the store so that you can get professionally matched by a Beauty Consultant or Makeup Artist. Although a shade lighter might be best, sometimes a pivot in undertone is necessary, as well. For a beginner, there is no harm in going into the store to ask and make sure you’re wearing the proper shade. It’s their most asked question!
Just like foundation, they come in different formulas: liquid and cream. The most popular concealer type is liquid. If you are applying makeup, you must apply all liquids before you go back in with powder. For example, if you are planning on wearing a liquid foundation, a powder to “set it” and a liquid concealer, make sure to apply the concealer before your final application of powder.
Brows
It’s often been said that the eyebrows are the windows to the face. Too often neglected, a defined eyebrow can make or break a makeup look. There are eyebrow pencils, eyebrow gels, eyebrow pomades, and eyebrow powders. Some people prefer to even use standard eyeshadow on their eyebrows. If you already have full brows, you’ll only need to use a pencil. However, if your eyebrows are sparse, or a lot lighter than your hair color and you’d like to darken them, consider a gel, pomade, or powder. Most of the time, your eyebrow color should be the same as your hair color, although that may vary at times.
Bronzer
Bronzer should be applied with a large fluffy brush to give you a more sun kissed appearance and bring dimension into your face after you’ve neutralized its color with foundation. Proper application should go under your cheekbone, along your jawline and along your hairline. An easy way to remember, is your brush should go in the shape of a 3 when applying. Most bronzers are in powder form.
Blush
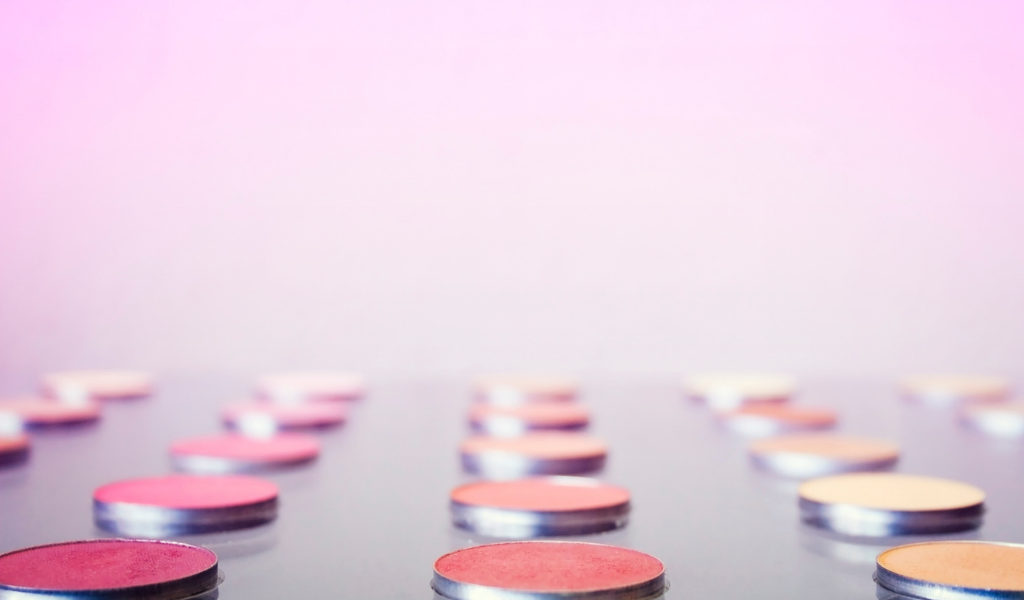
Blush is a fun way to bring together your face makeup. Once you take away any redness, we put it back in, but on our terms. Blush should be applied on the apples of your cheeks and then gently sweep up towards your temples. It can be in powder form, but if you don’t have any issues with texture, a lot of people prefer it in cream form. Here’s a hack: in a pinch, you can use lipstick as a cream blush.
Eyes
Okay, now to arguably the most “fun” part about learning about makeup.
Shadows
There are hundreds of techniques for applying eyeshadow, but in order to learn, it’s best to use three colors: a base, a transition, and something in the crease. The base color should be the lightest, the transition is the middle shade and whatever you put in the crease should be the darkest. YouTube is really one of the absolute best resources for learning techniques. Grab a palette with a few color choices, play around, and find out what looks best on your eye shape!
Liners
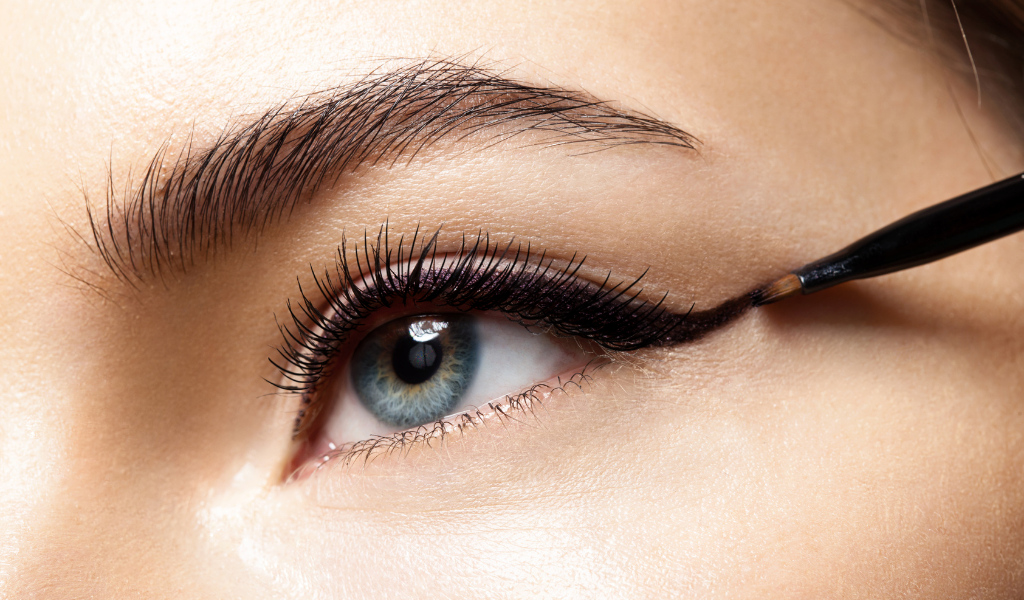
There are different types of liner, including pencils, liquid, and gel. If you are wanting to achieve a classic winger eyeliner or “Cat eye” look, you can try to use a gel-based product and a brush, or a felt tip liquid pen.
Mascara
Mascara can be tricky because everyone’s eyelashes have different needs. A mascara that your friend “swears by,” may not have the same life-changing affect when you try it. First, find out your wishes: volumizing, meaning you want your eyelashes to be thicker, or lengthening, which will make them longer. Try a few until you’ve found “the one.”
Lips
You can wear so many different products on your lips, such as lipsticks, liquid lipsticks, lip glosses, lip stains, liquid lipsticks, balms, and more! Lipstick, for the most part, can fall within a few different finishes: matte, satin, sheer, or glossy. You can also find hybrids, such as a velvet finish, which is somewhere in between matte and satin. Matte is often extremely long wearing but can be very dry and sometimes uncomfortable on the lips. A sheer or a glossy may be more comfortable, however sometimes it’s not as long lasting, or can feel sticky on the lips.
You will want to prep the lips. First, you should moisturize them with some sort of lip balm so that you have a clear surface to work with. Next, you can apply a lip liner along the natural exterior of your lips. This will assist the product in looking polished once you apply it to the rest of your lips. Then, you can combine a matte lipstick you love, with a gloss in a similar color range if you like the shiny affect. Lipstick is so fun and often very necessary in transforming a look.
Extras
Now that you’ve learned a lot of the basics, we can quickly cover a few advanced stages of makeup application you might want to introduce as you start to feel more comfortable.
Color Correcting
When in the concealer phase of makeup application, you can do a lot to help modify red spots, dark circles, and any other discoloration in your skin. To do this, you can combat whatever you’re trying to neutralize. For example, severe dark circles can be modified with peach concealer, as it helps counteract the purple in dark circles. Green concealer can be used to counteract any redness or rosacea. This is not a necessary step, by any means, but it is something to consider if redness or dark circles are an area of concern for you.
Contouring
Makeup and YouTube tutorials had become popular in the 2010s, so makeup trends catch on like wildfire, with more advanced techniques being available for instruction in the comfort of your own home. This contributed to the huge trend of facial contouring. Although this technique had been around for years, it was not as popular as it’s recently become.
Contouring is when you use both lighter and darker shades of your skin tone to mimic high points and shadows that would naturally hit in the sun, therefore giving your facial structure a more chiseled appearance. Usually, contouring is used in the hollows of your cheeks along your cheekbone, jaw line, on your forehead by your hair line, and down the sides of the nose. The light tone is used under the eyes, between your brows and down the bridge of your nose, and on your chin. You can use either cream, liquid, or powder formulas to achieve this look.
Highlighter
Once you’re done with your makeup, a highlighter is a pretty way to pull everything together and give a glowy and radiant appearance. It is used specifically on the tops of your cheeks, but also can be used on your brow bone, the inner corner of your eye, and some wear it on your cupid’s bow or tip of your nose. Usually, it’s a highly shimmery powder, so you only need to use a little!
False Lashes
For special events or photoshoots, you can try false lashes to add a little something extra to the look. False lashes are sold in either one large strip or individual tiny pieces, both of which have similar affects. These are tricky and take a lot of practice because you must glue them onto your natural lashes. The biggest tip for this: when applying the adhesive, make sure you wait at least 30-45 seconds before trying to apply. If you apply too quickly, the glue will be wet and won’t stick, however, if you wait, the glue will be tacky, and it’ll stay where you place it the first time. Buy some inexpensive lashes at the drug store if you’re curious and want to practice. Don’t worry if you don’t get it the first few times, as even seasoned makeup artists can still have issues with false lashes.
What you will need to get started
Brushes
And last, but not least: Brushes. Proper brushes are crucial and necessary. Consider waiting until the holidays or a large sale and check out in-store and online for brush kits, as opposed to buying them individually. Usually, a good brush kit will have 5-10 essential brushes for about $100. It seems expensive, but you’re investing in these for years and it really does make a difference.
Your First Makeup Bag
You will only need 9 items in your first makeup bag to achieve multiple different looks, besides brushes. Once you feel comfortable with these, you can start adding the “extras” we talked about. For now, this is it:
Now, let’s get to it. Good luck and remember to have fun!
